Power Automate Terminology
Microsoft’s Power Automate is a business application built around the concept of efficiency and streamlining business tasks through automation. By identifying opportunities for automation in your business—such as process bottlenecks or repetitive, time-consuming, and manual administrative procedures—Power Automate can provide a 199% 3-year ROI while also saving employee time and energy that they can otherwise spend on more engaging, business-growth activities. If you’re just getting started on your Power Automate adventure, check out our beginner’s guide!
Power Automate uses intuitive drag-and-drop functionality and a sleek, color code enhanced display. Not a coder? We have good news for you: this is a low-to-no-code application that requires no coding experience to create, eliminating the knowledge barrier to produce excellent, efficiency-building flows for your organization. Simultaneously, though, the application allows for deep code manipulation, giving freedom for advanced developers to flex their skills.
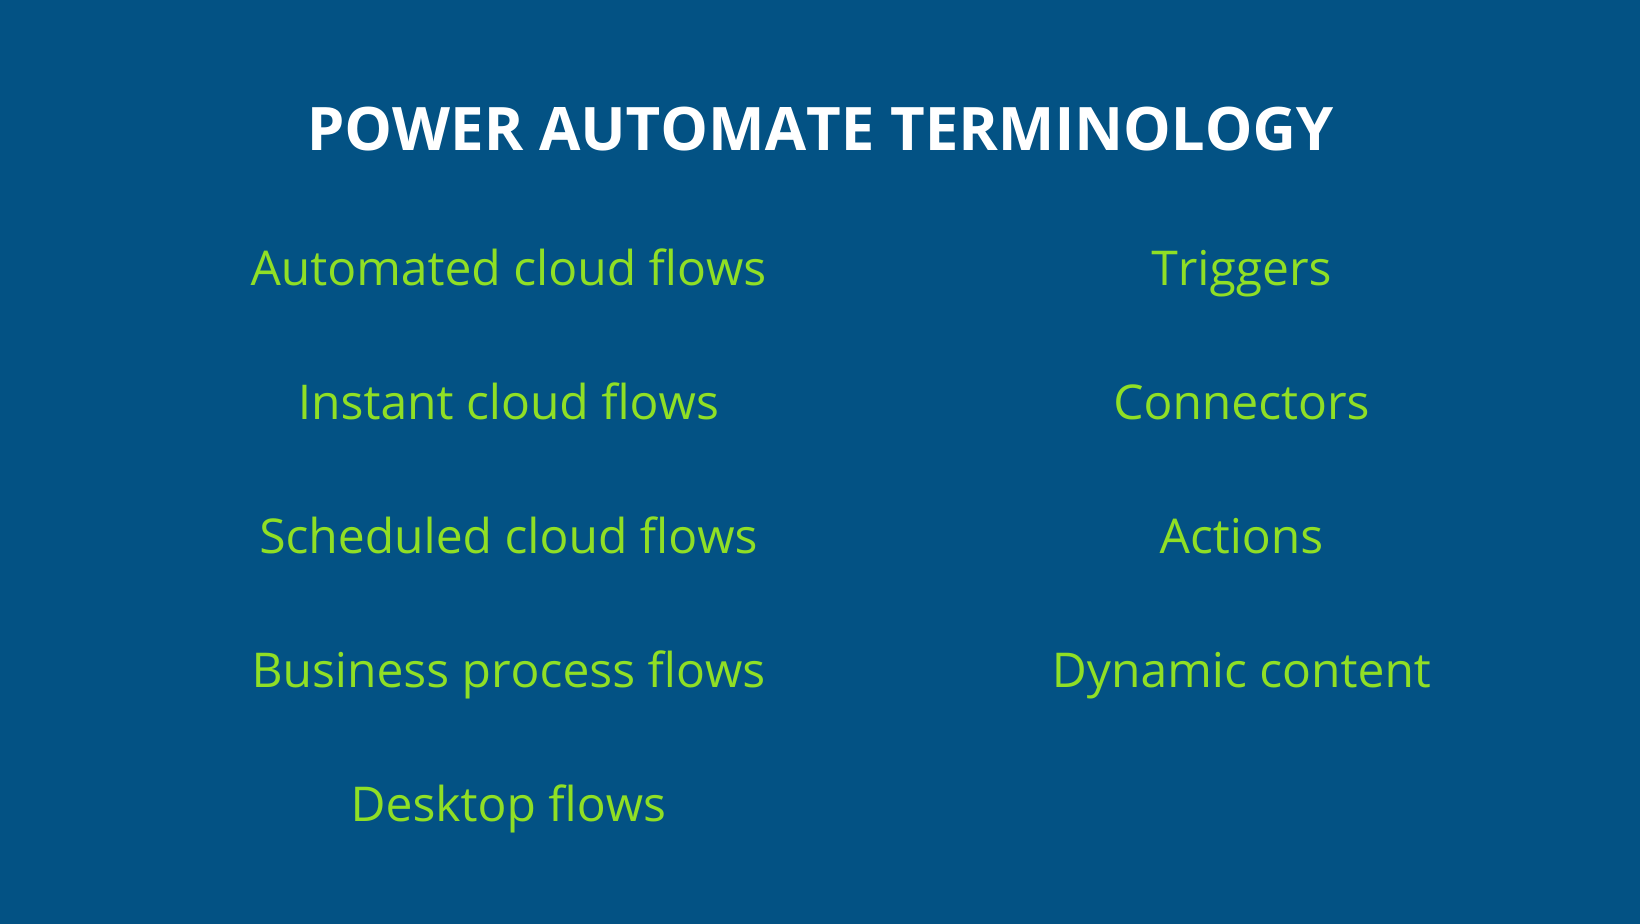
While the application is intuitive and accessible for any level of coding experience, it does include its own set of vocabulary that must be learned, as with any new business application. To help you on your journey, whether you’re new to Power Automate or becoming reacquainted, below we’ve outlined the key terms you will encounter when working with Power Automate:
Connectors
Connectors are essentially integrations that connect the specified app to other apps via Power Automate. If you use an Outlook connector and a Mailchimp connector, for example, you can connect processes across these two apps.
Triggers
The action that begins a flow. In an instant cloud flow, the trigger is you pressing the button to begin the flow. In a scheduled cloud flow, the designated day/time is the trigger.
Actions
These are the steps that occur after the trigger, which you define and customize while creating a flow or editing a template. Actions are diverse and include anything from using AI to interpret the sentiment of social media posts to creating a teams meeting and everything in between!
Automated cloud flows
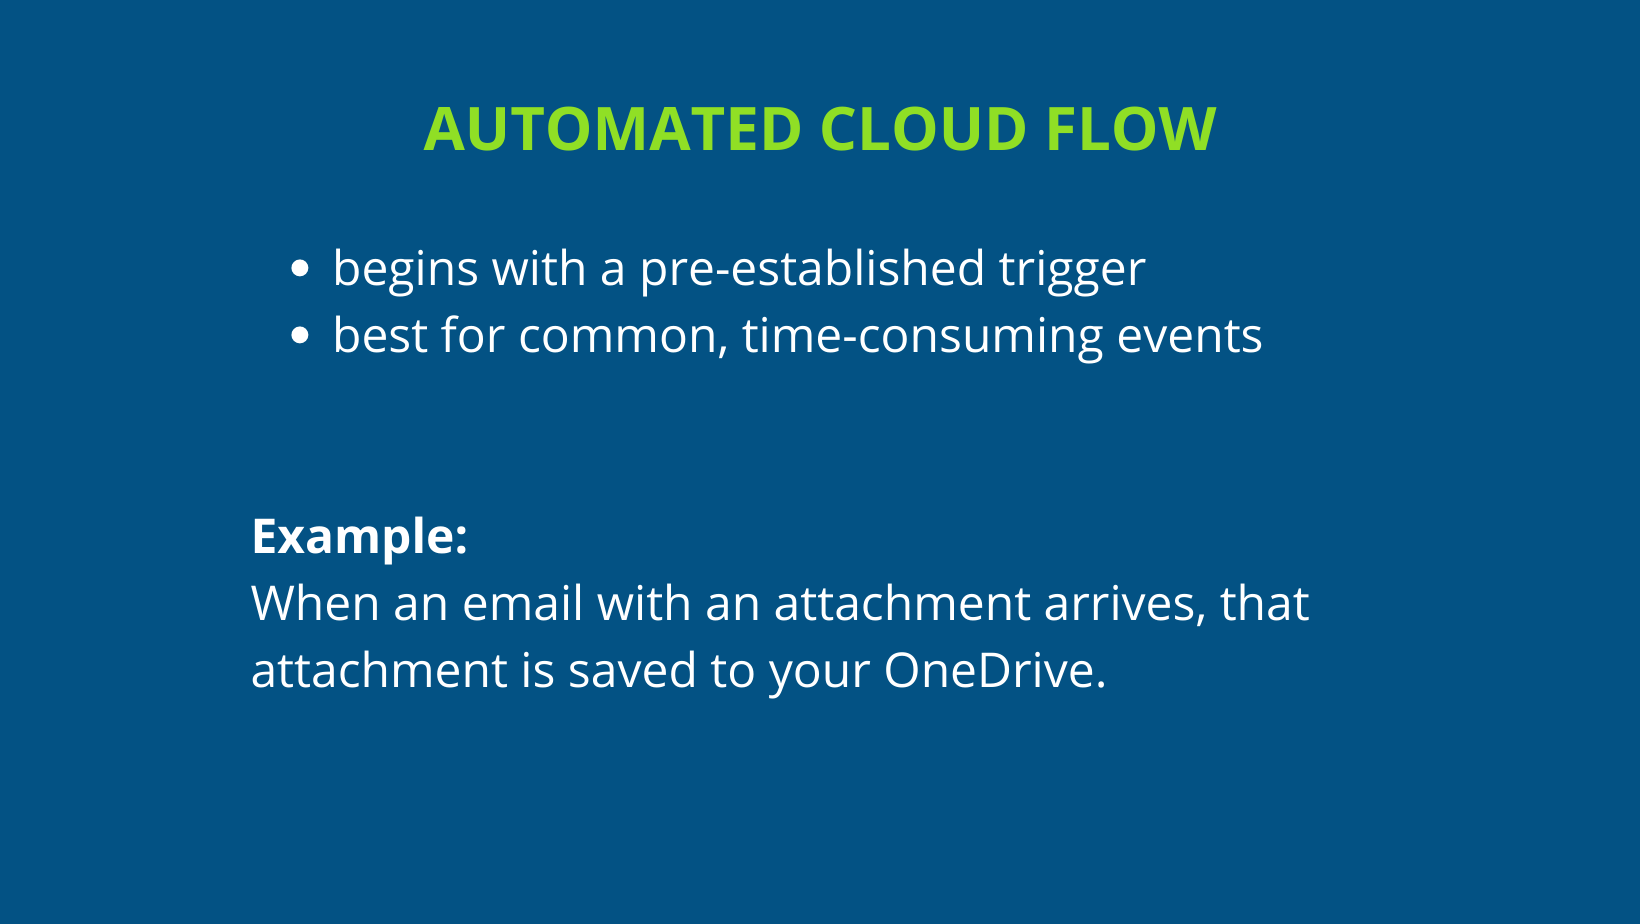
A flow that begins with a pre-established trigger. When this trigger happens, the flow begins with no effort on your part. For instance, you may have a flow set up to save all email attachments to OneDrive. The trigger that automatically begins the flow is when an email with an attachment arrives. It just happens! These flows are best for common events that may take up significant time when done often and that could easily drop under the radar.
Instant cloud flows
Also known as manual or button flows, these flows need to be manually started—the trigger is you pressing “start”—and are therefore best to use when you want total control over when this thing happens but don’t want to spend much time on it. For instance, you may create an instant flow for reminder emails you send out periodically to your entire team alerting them to complete their timesheets. These flows need to be started, but all the following steps (writing the email, entering the recipients, etc.) are already taken care of.
Scheduled cloud flows
In a scheduled cloud flow, the trigger is a designated time/day or time interval. A scheduled flow could run at the top of every hour, every 12 hours, each Monday at 8am, every first of the month, or whatever you need. These flows are best for reports or events that need to occur at a specific time. A daily task reminder email may be a good example of a scheduled flow.
Dynamic content
Using previous actions you’ve included or details you’ve used within the flow, Power Automate will auto populate options for you to use as you are building the flow. For instance, if you’re setting up a flow to send an email when you receive a Teams message in your Midwest Regional Sales Team, you the email text might populate an email title that reads “Message from Anna in Midwest Regional Sales Team.” You can keep these options or change them as needed.
Business process flows
Business process flows act as guides and rules to ensure employees are able to get their work done correctly using the processes their organization has defined. This lends consistency to every process, every time, for every individual. You may choose to make a Business Process Flow for a complex step-based process, such as your sales pipeline. (This type of flow is only available in the Microsoft Flow Plan 2.)
Desktop flows
Automate tasks using Robotic Process Automation to record actions as you demonstrate them, and then automate that task using that recording. This type of flow requires the Power Automate Desktop App and is used for any web or desktop apps, especially useful for those not used in the cloud. Data migration, such as moving documents from one location to another at end-of-day, may be a good example of a desktop flow.


